
Launching a research space is exciting, but it can also feel overwhelming when you start deciding what to buy first, what to wait on, and how to build a lab that actually supports daily work. A smart new laboratory setup is not just about filling benches with instruments. It is about creating a reliable, efficient, and scalable environment where teams can run experiments smoothly, manage samples safely, and avoid costly workflow problems later.
For startups, university labs, biotech teams, and growing research groups, the most effective approach is to begin with a practical lab setup checklist. Instead of buying equipment in a rushed or fragmented way, it helps to think in terms of workflow: sample collection, preparation, storage, analysis, and documentation. That is the difference between a lab that looks complete and a lab that actually works well.
Why every new lab needs a structured setup plan
A strong step-by-step lab setup guide helps prevent one of the most common mistakes in a new laboratory: purchasing equipment before defining the actual workflow. Many teams start with a vague shopping list, then later discover they missed a critical storage solution, the right sample-handling tools, or enough everyday consumables to support routine work. A better approach is to map the laboratory around real work. Ask what kinds of samples will enter the lab, how they will be processed, what level of sterility is needed, which instruments are mission-critical, and how often the lab expects to scale. This type of planning turns a general laboratory equipment guide into a practical operating framework.
For example, a molecular biology space will need different priorities than a general academic teaching lab or a diagnostics-focused startup. Some labs need stronger support for PCR workflows and sample preparation. Others need more emphasis on cell culture, recombinant proteins, ELISA, or endotoxin-related testing. The equipment list may vary, but the planning logic stays the same.
Step 1: Define the lab’s purpose before buying equipment
The first step in setting up a new laboratory is defining the core work the lab will perform in the first 6 to 12 months. This sounds simple, but it shapes every buying decision that follows. A research lab focused on cell biology will prioritize tissue culture materials, sterile handling areas, pipettes, centrifuges, storage systems, and related reagents. A PCR-heavy lab will prioritize precision liquid handling, PCR plasticware, sample preparation, and workflow separation to reduce contamination. A multidisciplinary startup may need a broader set of laboratory essentials to support several small workflows before the lab specializes further.
This is where a startup-friendly supplier matters. Astor Scientific’s catalog structure makes this planning easier by bringing together multiple core categories in one place, including equipment, plasticware, PCR reagents, protein and antibody reagents, ELISA kits, endotoxin detection products, and sample collection supplies. For a growing lab, centralized sourcing helps reduce friction during the setup phase.
Step 2: Build your essential bench-level equipment list
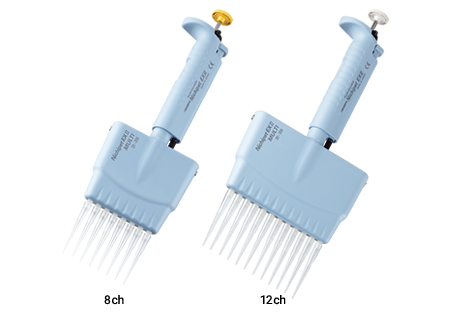
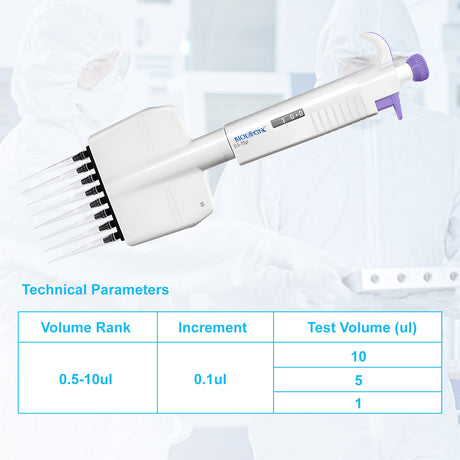
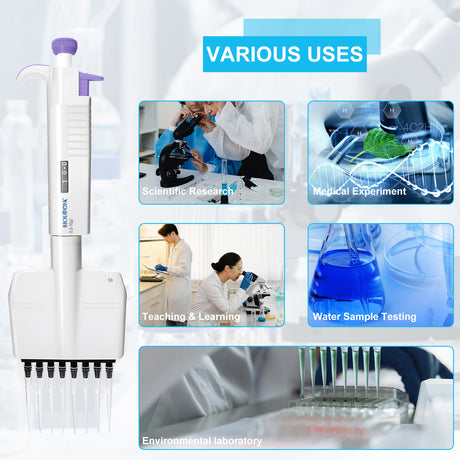
When people search for essential lab equipment, they usually want clarity on which items truly belong in a foundational lab and which are optional upgrades. The answer depends on the workflow, but most new labs begin with a dependable base of everyday tools and devices. Pipettes are a priority because they affect accuracy, repeatability, and daily speed. High-quality pipetting systems are central to nearly every wet lab workflow, from reagent handling to sample transfer. Astor Scientific’s Nichiryo pipettes and accessories fit naturally into this part of the checklist because precise liquid handling is one of the most important early investments a lab can make.
Centrifuges are another core requirement for many research environments. Whether the lab handles nucleic acid preparation, cell pellets, protein workflows, or routine sample separation, a reliable centrifuge quickly becomes one of the most-used instruments in the room. Beyond those major tools, a practical starter setup often includes vortex mixers, storage racks, tube holders, timers, waste containers, labeling systems, access to cold storage, and enough bench organization tools to keep routine work efficient. These may not look dramatic in a catalog, but they are part of the real laboratory tools and devices that keep a lab running smoothly each day.
Step 3: Plan around sample handling and workflow continuity
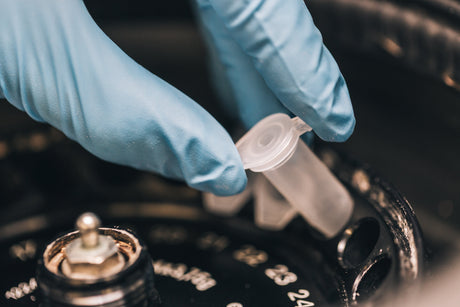
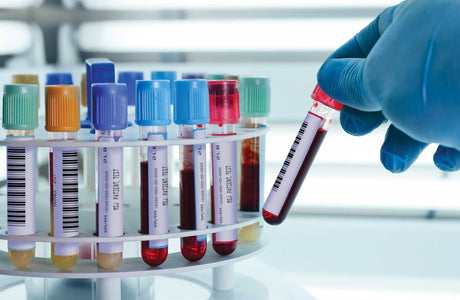
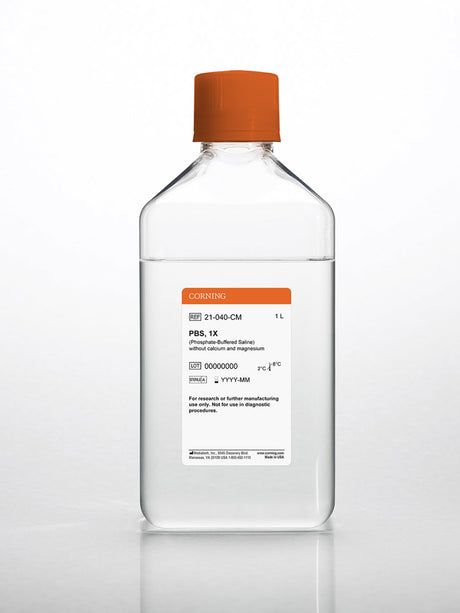
A strong new laboratory setup is not only about instruments. It also depends on what happens between steps. Sample collection, transfer, preparation, and storage need to work together without creating avoidable delays or contamination risks. That means choosing the right tubes, plates, containers, storage systems, and sample-collection products for the workflows your team runs most often. If your lab handles biological samples, then collection and preservation materials deserve attention very early in the planning phase. Astor Scientific also carries medical sample collection products, including urine, blood, faeces, and saliva or sputum solutions, which are especially relevant for laboratories that bridge research and diagnostic workflows.
This part of the lab setup checklist is often underestimated. Labs may budget carefully for visible instruments but overlook the recurring importance of plasticware and sample handling supplies. In practice, those are the items your team touches all day long. When they are poorly matched to the workflow, efficiency suffers even if the lab owns good instruments.
Step 4: Include safety and controlled work areas from the start
Safety should never be treated as an afterthought. A well-designed laboratory setup guide always includes protected work areas, proper waste handling, storage logic, and equipment placement that support safe movement in the lab. For some labs, a biosafety cabinet is not optional. If the workflow involves sterile technique, sensitive biological materials, or contamination-sensitive handling, then the layout should incorporate a controlled workspace early in the planning process. This is also where efficient laboratory layout planning becomes important. Equipment should be arranged to reduce cross-traffic, minimize unnecessary movement, and keep clean and dirty workflows clearly separated.
In a startup lab, space is often limited. That makes layout decisions even more important. A compact laboratory can still function extremely well when the bench flow is organized around actual use. Put the most frequently used tools where they are easiest to access. Keep preparation areas close to the instruments they support. Leave enough room for maintenance, cleaning, and safe movement. These are simple laboratory setup tips for startups, but they have a major effect on long-term usability.
Step 5: Stock the right consumables, plasticware, and reagents
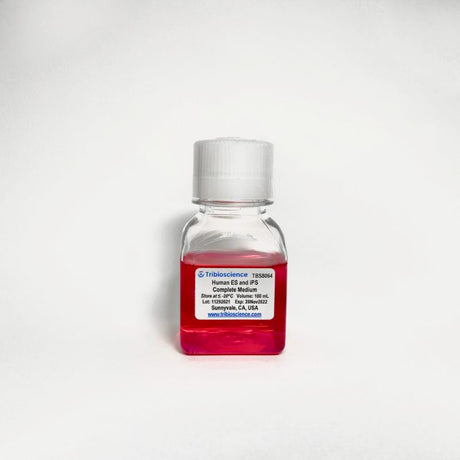
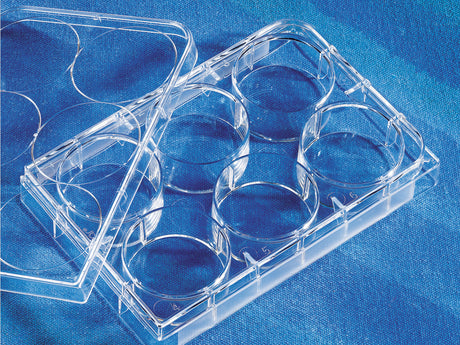
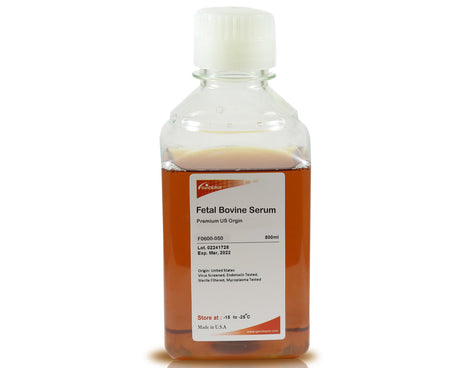
A lab is only as operational as its recurring supplies. One reason many early-stage labs struggle is that they focus on buying instruments but forget to build a dependable system for the essentials needed every week. That includes PCR plasticware, tubes, culture-related plasticware, liquid-handling supplies, microbiology consumables, sample storage items, and reagents that match the lab’s core assays. Depending on the research focus, that may include PCR reagents, cell biology reagents, bacteria culture reagents, protein and antibody reagents, ELISA kits, or sample preparation kits.
This is why the phrase laboratory setup essentials should always be understood broadly. The essentials are not only big-ticket equipment. They are the full set of materials that keep real work moving without interruption. For teams building lab equipment for startups, supplier efficiency matters just as much as product quality. Sourcing from a platform like Astor Scientific can simplify ordering across equipment, reagents, plasticware, and specialty categories, helping young labs avoid the fragmentation that often slows procurement.
Step 6: Think about storage before your workflows expand
Storage planning is one of the easiest ways to future-proof a new lab. It is also one of the most overlooked aspects of setting up a new laboratory. New teams often estimate today’s needs but not the sample growth, documentation load, and reagent management challenges that emerge once projects run continuously.
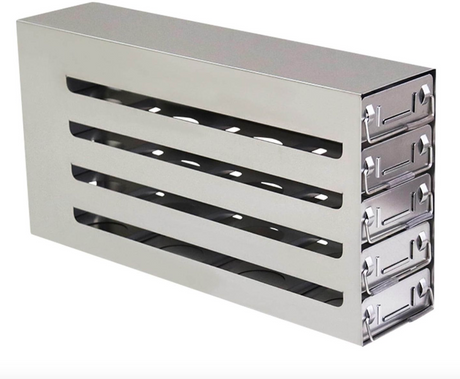
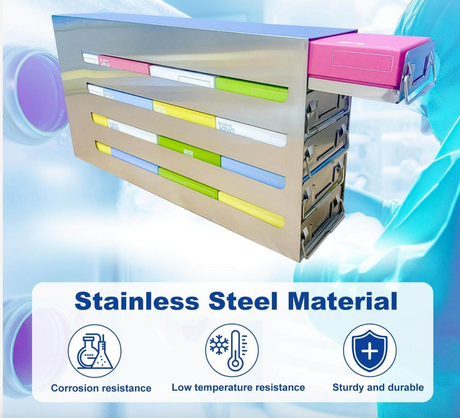
The smarter move is to design storage around both current and near-future use. That includes bench storage, cold storage planning, sample tracking, biobanking-related needs where relevant, and enough organization to keep items searchable and accessible. Astor Scientific’s product structure around biobanking sample storage and related plasticware is especially relevant here. Even if your lab is not a formal biobank, organized sample storage is still a core part of a reliable lab operation. Good storage planning reduces waste, protects sample integrity, and makes your lab feel controlled rather than reactive.
Step 7: Buy for reliability, not just for the lowest upfront cost
Every startup wants to stay lean, and that is understandable. But a truly useful laboratory equipment guide should encourage labs to balance price with reliability, availability, and repeat use. The cheapest option is not always the most affordable in the long run if it creates inconsistency, downtime, or repeat purchases.
That is where procurement strategy matters. A supplier that emphasizes comparison, transparent purchasing, and accessible product selection can help teams make better decisions. Astor Scientific’s brand positioning is especially appealing to small and startup biotech labs because it is built around cost-conscious sourcing without sacrificing functional quality. In other words, the best lab equipment for research labs is not always the most expensive or the most advanced. It is the equipment that reliably supports your experiments, fits your workflow, and allows your team to work with confidence.
A complete lab setup checklist for new laboratories
If you are building a lab from scratch, this simplified checklist can help organize the process. Start with your core workflow definition. Identify whether the lab will focus on PCR, cell culture, sample preparation, protein work, ELISA, endotoxin testing, microbiology, or a combination of these. Next, prioritize your bench-level equipment. In many cases, this includes pipettes, centrifuges, storage racks, and workflow support tools. Then review whether the lab needs a sterile or protected workspace, such as a biosafety cabinet.
After that, build your consumables plan. Make sure you have the plasticware, sample-handling products, PCR materials, liquid-handling supplies, and reagents needed to run actual experiments, not just to launch the lab visually. Then develop your storage strategy. Plan for samples, reagents, backup stock, and organization systems from the beginning.
Conclusion:
The best new laboratory setup is one that supports the science you want to do today while leaving enough room to grow tomorrow. It should feel practical, organized, and ready for daily use. That means balancing major equipment with the smaller but equally important systems around sample handling, consumables, storage, and layout.
Whether you are planning a compact biotech startup lab, an academic research room, or a specialized testing space, the smartest approach is to treat setup as a workflow problem, not just a shopping task. With the right laboratory setup essentials, efficient sourcing, and thoughtful layout decisions, new labs can launch with more confidence and fewer disruptions.
Astor Scientific fits naturally into that process because its catalog spans many of the categories that matter most during early procurement, including pipettes and centrifuges, plasticware, reagents, sample collection products, and specialized research supplies. For teams looking for a more practical path to essential lab equipment, that kind of centralized support can make building a new laboratory simpler, more efficient, and more scalable.